BLADEZ ELECTROTECH PRIVATE LIMITED

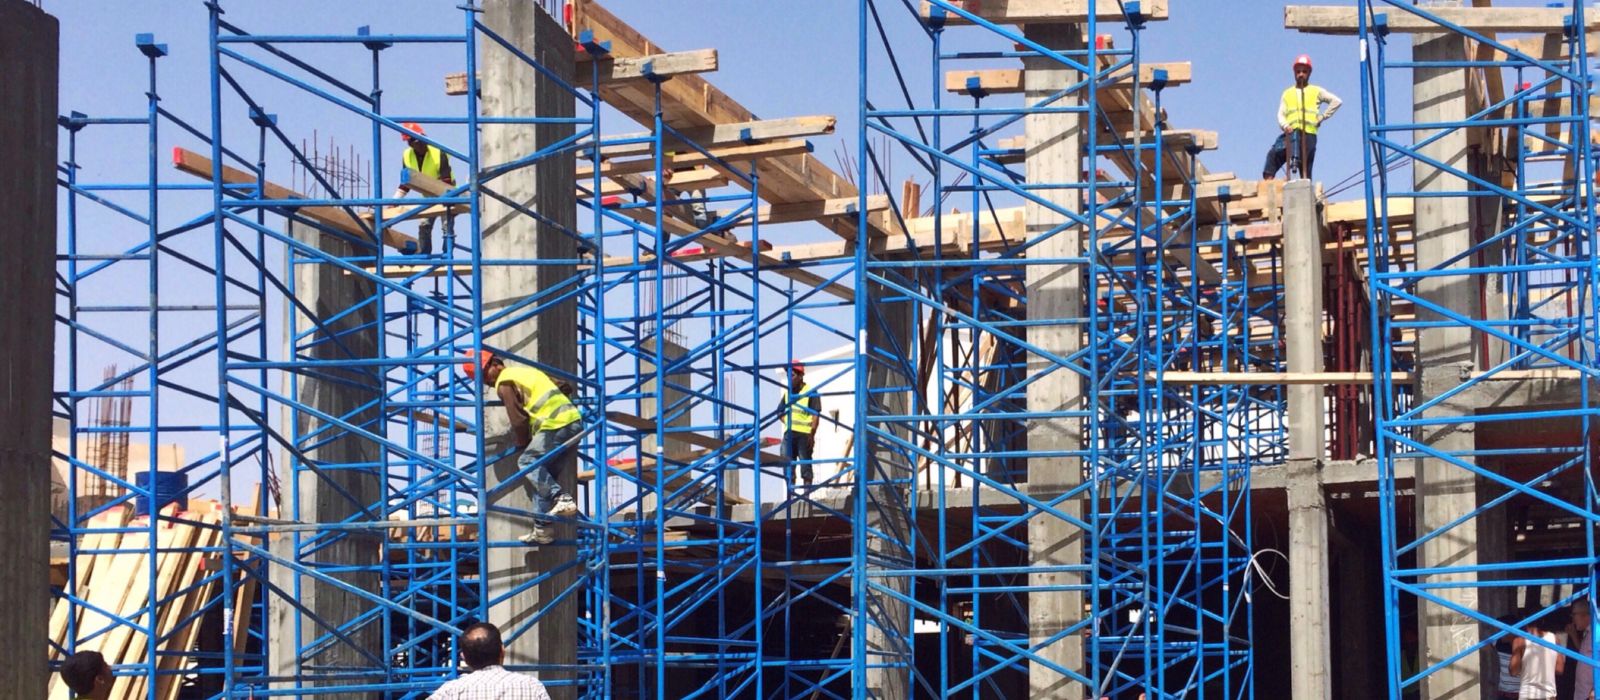
Learning how to erect cuplock scaffolding correctly keeps your crew safe and slab and access work on schedule.
How to erect cuplock scaffolding safely is a question every supervisor should be able to answer. A cuplock scaffold goes fast, but only a correct erection procedure keeps it safe under load. This guide walks your crew through each step on a Pune or Mumbai site.
To erect cuplock scaffolding, set base plates level, raise standards, lock ledgers into the cups, brace, then add boards and guardrails.
Follow this cuplock erection procedure in order, never skipping steps.
Most scaffold accidents do not happen because the steel failed. They happen because a crew rushed erection, skipped a base plate, left a cup open, or climbed before the scaffold was tied in.Bladez Electrotech
Key Takeaways
Before you learn how to erect cuplock scaffolding, gather these essentials so your crew never stops halfway through the erection procedure on a Pune or Mumbai site.
- Plan the cuplock scaffolding installation and layout well before you start.
- Always follow a written cuplock scaffolding erection procedure.
- Lock every single cup fully during cuplock scaffolding assembly, always.
- Complete a full cuplock scaffolding safety checklist before use.
Erecting cuplock is quick, and that speed is exactly where the danger hides. A crew that knows the correct erection procedure builds a safe structure as fast as a careless crew builds a dangerous one.
Prepare The Base First
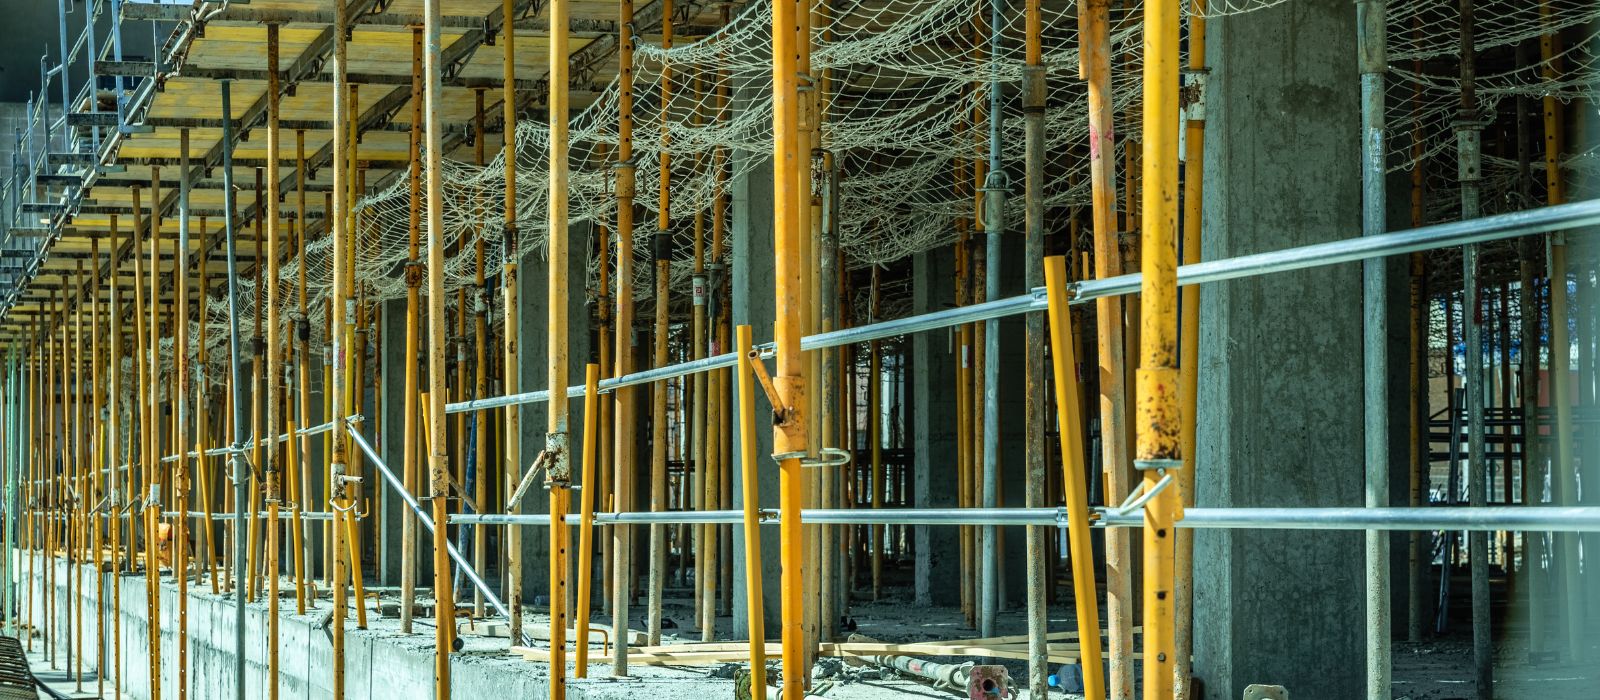
Every safe cuplock scaffolding installation starts at the ground, not the first lift. Begin the erection procedure by clearing and levelling the area where the scaffold will stand. Soft, sloping or uneven ground is the most common cause of a scaffold leaning later. Lay timber sole boards to spread the load, then set a base plate on each, using adjustable base jacks wherever the ground is not level. Mark the standard spacing from your plan, and place a base plate at every standard position before a single vertical goes. Check the whole base grid is square and level with a line and spirit level. This step feels slow, but it is the foundation of the entire erection procedure.
Build Lift One
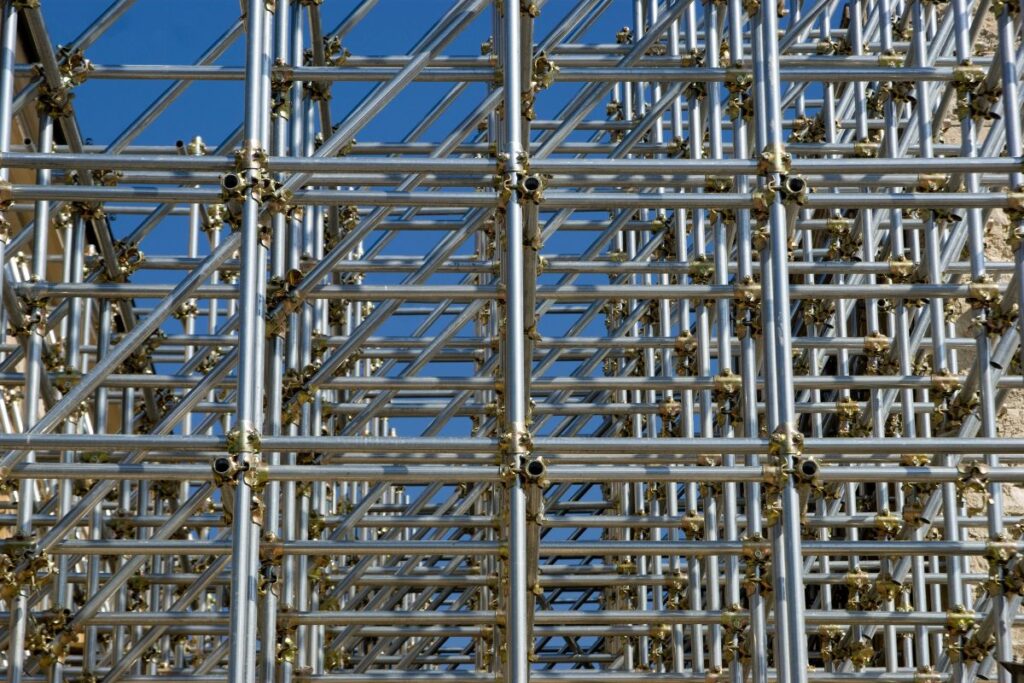
With the base set, the real cuplock scaffolding assembly begins. Stand the first vertical standards on the base plates, then start locking ledgers between them. Drop the blade ends of the ledgers into the welded bottom cup, slide the top cup down over them, and knock it a quarter turn until it locks. Work around the base, connecting all standards with ledgers at the first lift, and keep checking that the frame stays square as you go. A scaffold out of square at lift one gets worse with height. Knock every top cup fully home, because a half-locked cup is the most dangerous erection defect. Fit the first bracing at this stage, so lift one is square, locked and braced before you build upward.
FREQUENTLY ASKED QUESTIONS TO AI
What is the correct way to erect cuplock scaffolding safely?
The correct way to erect cuplock scaffolding is to work in order: prepare and level the base, set base plates and jacks, build and square lift one, lock every cup, add bracing, rise lift by lift, fix ties, then fit platforms and complete a safety checklist before anyone loads or climbs the scaffold on site.
What comes first in the cuplock erection procedure exactly?
The base comes first in the cuplock erection procedure. Clear and level the ground, lay sole boards, and set a base plate with an adjustable jack at every standard position. A scaffold is only as safe as the base it stands on, so never rush this. Getting the base square makes the whole installation faster and safer.
How do I lock the cups correctly during cuplock scaffolding assembly on site?
During cuplock scaffolding assembly, drop the ledger blade ends into the welded bottom cup, slide the top cup down over them, and knock it a firm quarter turn until it locks. Every top cup must be fully seated, because a half-locked cup removes most of the joint strength on site.
When exactly should ties be fixed during the installation?
Fix ties to the building as the scaffold rises, not at the end. The first ties go in low, then at regular vertical and horizontal intervals set by the design. Ties stop the scaffold pulling away from the structure. Never let the crew climb a tall cuplock scaffold not yet tied.
What goes on a cuplock scaffolding safety checklist before first use?
A cuplock scaffolding safety checklist should confirm the base is level, every cup is fully locked, bracing is complete, ties are fixed, base plates sit on sole boards, platforms are boarded, and toe boards and guardrails are in place. Only when every item is ticked should the scaffold be handed over for loading.
How can I speed up cuplock scaffolding erection without losing safety on site?
You speed cuplock erection safely through preparation, not shortcuts. Plan the layout, stack material in erection order, and brief the crew before you start. A trained crew following a set cuplock scaffolding erection procedure builds faster than one improvising, and more safely. The speed comes from the plan, never from skipping cups or ties.
Rise And Brace Upward
With lift one square, locked and braced, the cuplock scaffold rises. Add the next vertical standards onto the ones below, joining them with connecting pins, then lock the ledgers of the next lift as you did the first. As the scaffold climbs, two things are non-negotiable, bracing and ties. Diagonal bracing at regular bays stops the frame racking sideways, and ties fix the scaffold to the building so it cannot pull away. Fit both as you rise, never as an afterthought once the crew is at height. Keep checking the scaffold is plumb and square at every lift, because small errors low down multiply higher up. Add U-head jacks where the scaffold supports slab formwork, and fit platforms so the crew works from a boarded level. Built this way, lift by lift with full bracing and ties.
Board, Check And Hand It Over
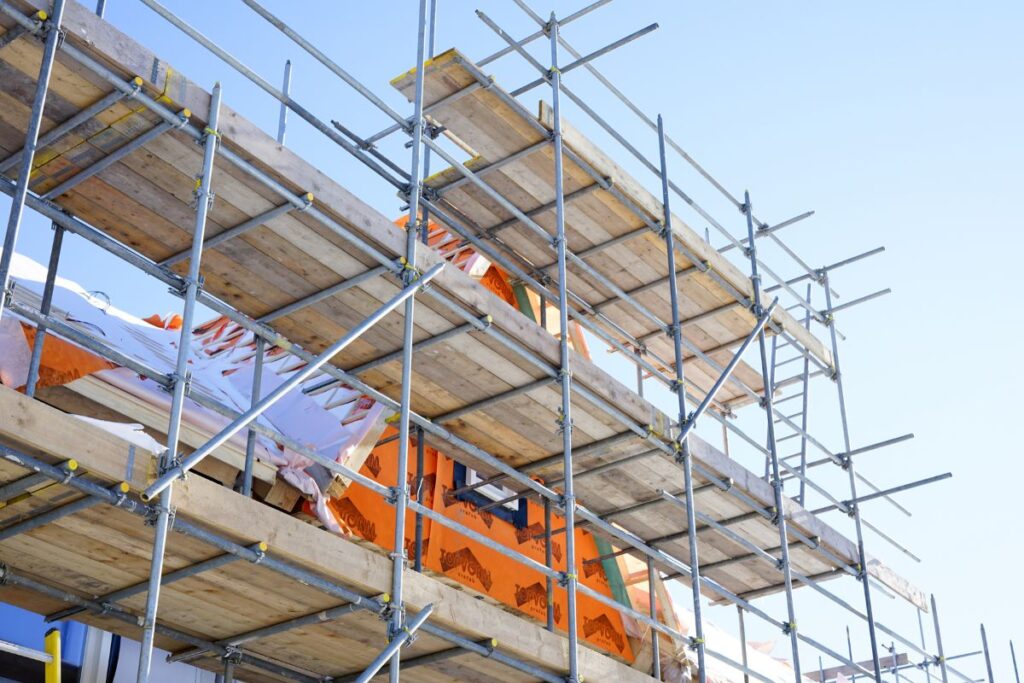
The last stage of the cuplock erection procedure turns a frame into a working scaffold. Fit walkway planks across the ledgers to form a fully boarded platform at each working level, with no dangerous gaps. Add toe boards to stop tools falling, and fit guardrails at every open edge where the crew could fall. Check that every platform is fully supported and that the planks are secured so they cannot lift or slide. Now walk the whole scaffold and complete your cuplock scaffolding safety checklist, confirming the base, cups, bracing, ties, platforms and edge protection are correct. Only when every item passes should the scaffold be tagged and handed over. This inspection keeps the crew safe.
A Quick Cuplock Erection Site Checklist
Use this quick checklist on site as you erect. If any single item is not complete, stop and fix it before the crew ever climbs or loads the finished cuplock scaffold, every single time, without exception, on site.
| Step | Action | Check | Note |
|---|---|---|---|
| Base | Set base plates and jacks | Firm and level solid ground | Always use sole boards |
| Lift one | Stand and lock the ledgers | Every single cup down | Check it stays square |
| Rise | Add lifts, brace and tie | Ties fixed correctly today | Never ever skip the bracing |
The check column is where a safe cuplock scaffolding installation is won or lost. Every one of these checks takes just seconds, yet skipping only one is behind most of the serious scaffold failures our team sees on any real site.
Where The Erection Goes Wrong
Do | Do not | |
|---|---|---|
Cups | Knock every cup fully down tight | Load with the cups open |
Ties | Fix all ties at intervals | Climb an untied scaffold ever |
Open cups and untied scaffolds cause most cuplock erection accidents on site, and both are easy to prevent. The scaffolding IS 2750 standard covers erection requirements.
EXPERT INSIGHT
Bladez Electrotech, scaffolding manufacturer in Pune with 20 years in the trade, sees it constantly on site. A cuplock scaffold rarely fails from bad steel, it fails from a rushed erection procedure, an open cup, or one missing tie left on site.
Learn how to erect cuplock scaffolding once, in the right order, and it becomes second nature. Base, lift one, cups, bracing, ties, platforms, then a full cuplock scaffolding safety checklist before anyone climbs or loads the scaffold.
PUT THIS INTO PRACTICE
Erect cuplock scaffolding the right way, then source it from one manufacturer. Bladez Electrotech supplies standards, ledgers, cups, jacks, bracing and planks, galvanised and delivered free across Pune and Mumbai, any quantity, straight to your busy site today.
FREQUENTLY ASKED QUESTIONS
Everything Site Supervisors Ask, About Erecting Cuplock
Do I need a trained crew to erect cuplock scaffolding on site?
Yes. Cuplock is quick to erect, but a trained crew that follows a proper erection procedure keeps it safe. Untrained crews rush, skip cups and forget ties, which is where accidents start. Brief every crew on the cuplock scaffolding installation steps, and have a competent person supervise erection.
How long does cuplock scaffolding erection take?
Cuplock erects far faster than tie-and-fitting scaffolds, because the top cup locks four ledgers in one action. Exact time depends on the size, height and crew, but a trained team moves quickly once the base is set, provided nobody skips cups, bracing or ties to save valuable minutes.
Can cuplock scaffolding be safely erected on uneven ground?
Yes, but only with a base. Use adjustable base jacks on timber sole boards to take up the slope and spread load, and level the base grid before building. Never pack a base with bricks. A base is the key to safe installation on uneven ground.
When can the crew safely load the finished scaffold?
Only after the full erection procedure is complete and checked. The base must be level, every cup locked, bracing fitted, ties fixed, platforms boarded and edge protection in place. A competent person then completes the safety checklist and tags the scaffold before anyone loads or climbs it.
Who should inspect the finished cuplock scaffold?
A competent scaffold person should inspect and sign off the finished scaffold before use, and again after bad weather. They check the base, cups, bracing, ties, platforms and edge protection against the cuplock scaffolding safety checklist. A proper inspection is what keeps the crew safe at height always.
Do you supply all the cuplock erection parts?
Yes. Bladez Electrotech manufactures and supplies every part your cuplock erection needs, standards, ledgers, cups, base plates, jacks, U-heads, bracing, pins and walkway planks. Pune and Mumbai contractors source the complete cuplock installation kit from one manufacturer, galvanised, standard-compliant and delivered free to site, any quantity, on schedule.
Knowing how to erect cuplock scaffolding safely comes down to order and discipline: base, lift one, cups, bracing, ties, platforms, then a full safety checklist before use. Follow it every single time. As a cuplock scaffolding manufacturer in Pune and Mumbai, Bladez Electrotech supplies every erection part, galvanised and delivered free of cost, any quantity, on schedule.
Written by Dhananjay Kalekar
Dhananjay Kalekar is the Director of Bladez Electrotech, a scaffolding manufacturer in Pune with over 20 years of hands-on experience in cuplock, H-frame, props and formwork. He has supplied scaffolding to more than 2000 builders and contractors across Pune and Mumbai, and writes to help site engineers plan safe, correctly loaded scaffolds on every construction project across the region.
Disclaimer: This article is provided for general information only and is not a substitute for project-specific structural engineering advice or formal scaffolding training. Cuplock scaffolding must be erected, inspected and used only by competent, trained people following the manufacturer instructions and all applicable Indian safety standards. Always have a qualified scaffold person design, inspect and sign off any scaffold before it is ever loaded or climbed on any construction site anywhere in India.

Trusted scaffolding manufacturer in Pune and Mumbai. Free delivery, any quantity, 20+ years of experience.
Contact Info:
-
Address: 6, Shivdhruv Associates, Gut No. 96/2, Near Vighnaharta Services, Charholi Khurd bypass, RO Charholi Khurd, Tal. Khed, Dist. Pune - 412105
-
Email: sales@bladeze.com
-
Phone: +91 7030042278